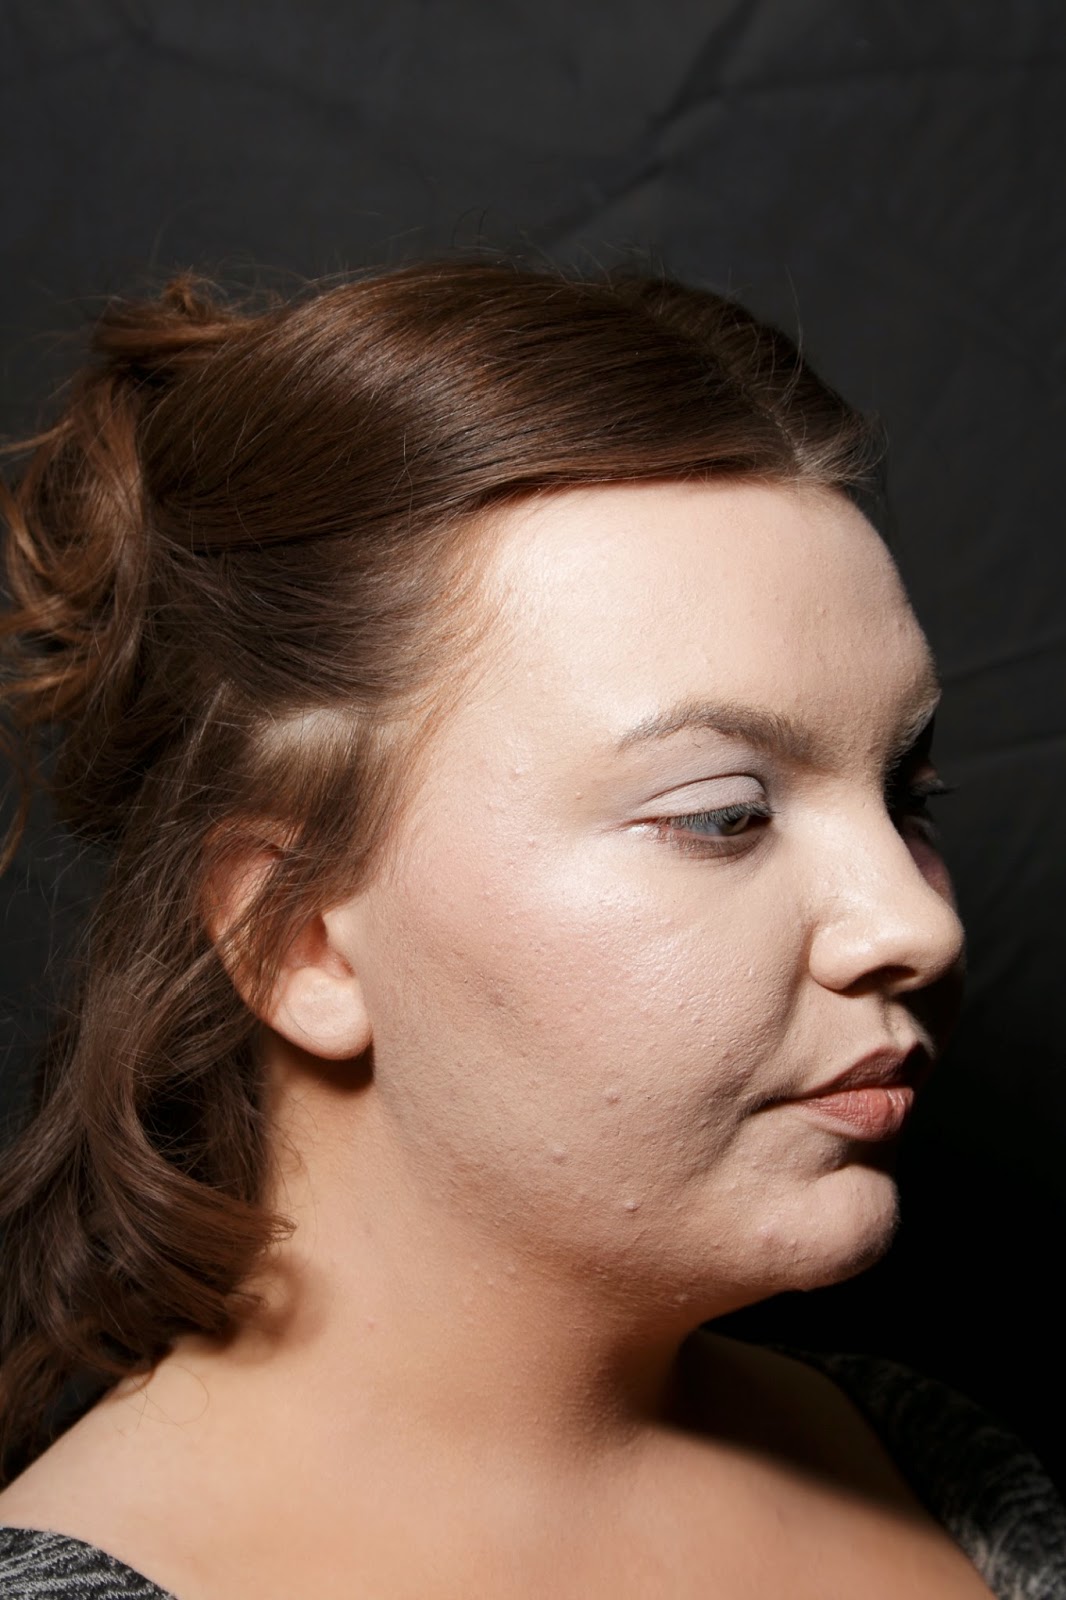
In our practical with Sue, we looked at using pre-made wounds, and how to apply them. I really enjoyed this lesson, as it focused on prosthetics.
Health and Safety:
-Complete a consultation with the client beforehand.
-Wash hands.
-Place cover over the model, to prevent products reaching clothing.
Products:
ProsAide Adhesive
Gelatine pre-made mould
Witch Hazel
Cotton Buds
Translucent Powder
Wound Filler
Fake Blood
Kryolan Supracolour
Method:
1. Carry out consultation with the client beforehand.
2. Clean the area you will be working on, with cleanser and toner.
3. Apply ProsAide to the skin where the mould will be, as well as the mould itself. The adhesive will be milky-white at first, but you MUST wait until the liquid dries to a tacky, clear film.
4. Apply the mould to the skin. Press hard on the area, to ensure it has stuck.
5.Using a cotton bud dipped in witch hazel, work into the edges of the mould. This will slowly dissolve away the edges of the mould, blending it into the skin.
6.Use the translucent powder to seal any tacky areas. You can now begin to colour the mould.
7. If the mould does not match the client's skin tone, colour with the UltraFoundation Palette from Kryolan and Powder. If it does match, you can miss this step.
8. Using a spatula, apply some wound filler to your prosthetic.
9. Using the supra colours, you can colour around the wound to make it look sore.
10. Apply the fake blood using a baby bud.
11.If desired, using a large paintbrush, flick blood onto the wound.
Evaluation:
In this excersise I found most challenging the blending of the mould to the skin. There was a certain amount of pressure to use before the mould would begin to peel away. I enjoyed this task because I enjoy the Special Effects side of makeup, and how it is achievable to create realistic wounds in a certain amount of time. This practical was time consuming, particularly the blending side of things. Once the wound was blended, I enjoyed the colouring, and applying the blood.


